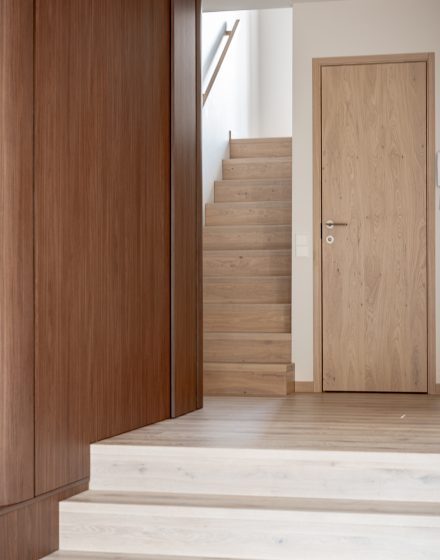
Installing oak flooring is one of the most effective ways to bring natural warmth, stability, and long-lasting value into your home. This guide combines essential preparation steps, technical recommendations, and a full list of required tools—along with a complete installation video you can follow step by step.
Whether you’re renovating your home or installing flooring professionally, these instructions will help you achieve a clean, durable, and visually consistent result.
Scroll to the end of the article to watch the full installation video.
Required Tools & Materials
To ensure a smooth and efficient installation, prepare the following:
- Protective mask and safety goggles
- Subfloor moisture meter
- Concrete primer (recommended: STAUF)
- 11–15 mm roller for primer
- Spacers (8–10 mm)
- Measuring tape
- Hand saw or electric saw
- Vacuum cleaner
- Notched trowel for adhesive application (depending on adhesive/subfloor type)
- Adhesive (recommended: STAUF SPU 570)
- Protective top coat oil (recommended: SAICOS Hardwax Oil)
- 5 mm velour roller for oil application
- Soft cloth
Optional Tools
- Chalk line
- Marking cord / string line
- Hammer
- Tapping block
- Pry bar / crowbar
- Carpenter’s square
- Tension straps (for large areas)
- Floor sander (for subfloor leveling)
- Hardwood repair kit (filler or touch-up paint)
- Microfiber mop
- Dehumidifier / humidifier
1. Preparing the Room and Materials
Correct indoor conditions are essential for the long-term stability of oak flooring.
Recommended indoor climate
- Temperature: +18°C to +24°C
- Humidity: 40–65%
- Maintain stable conditions before, during, and after installation.
Acclimation
- Store floorboards in the installation room for 24 hours before use.
- Keep packages sealed until the installation starts.
- Unpack only the material needed for the same day.
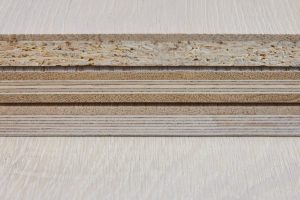
2. Subfloor Requirements and Preparation
A clean, level, and dry subfloor is crucial for performance and durability.
Moisture limits
- Concrete subfloor: ≤ 3%
- Heated concrete subfloor: ≤ 2%
- Wooden subfloor: ≤ 12% moisture content
Subfloor preparation
- Ensure the subfloor is structurally sound and free from dust.
- Check evenness and fix any affected areas (<2mm per 2m).
- Level dents, high spots, or cracks using appropriate leveling tools.
- Vacuum thoroughly before priming.
Priming
- Apply STAUF concrete primer with an 11–15 mm roller.
- Allow approx. 45 minutes drying time.
3. Planning the Installation Layout
Proper planning ensures a visually balanced and harmonious floor.
- Choose the installation direction: typically toward the main natural light source.
- In corridors or narrow spaces, install planks lengthwise.
- Use 8–10 mm spacers to maintain expansion gaps around all walls.
- Before spreading adhesive, mark the first 2–3 rows using a chalk line or string line—this ensures straight alignment.
- Mix boards from several boxes to distribute natural colour variation.
4. Adhesive Application
Correct adhesive usage is critical for long-term stability.
- Use STAUF SPU 570 or another recommended hardwood flooring adhesive.
- Apply using a suitable notched trowel held at a 45° angle.
- Spread adhesive only for 2–3 rows at a time.
- Do not let adhesive dry before placing planks.
- Clean any adhesive from the surface immediately with a soft cloth.
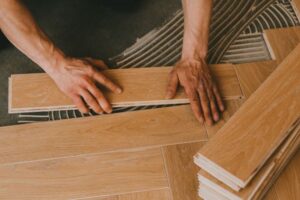
5. Installing Oak Floorboards
First rows
- Start along the longest wall of the room.
- Press the first board firmly into the adhesive.
- Install from left to right, with the groove facing the wall.
- After 2–3 rows, step back and verify straight alignment.
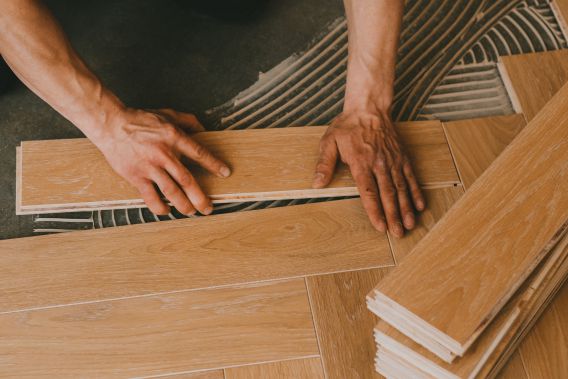
Continuing installation
- Insert the tongue into the groove and tighten joints using a tapping block.
- Keep joints tight and free of gaps.
- Check alignment every 3–5 rows.
- Use cut-off boards to begin the next row when possible.
Final row
- Cut planks to maintain an 8–10 mm perimeter expansion gap.
- Allow the adhesive to cure according to manufacturer instructions.
6. Surface Protection and Finishing
After installation:
- Vacuum the floor and remove all dust.
- Apply SAICOS Hardwax Oil with a 5 mm velour roller.
- Let the surface dry for 3–5 hours.
- Full curing time is 7 days—avoid rugs or furniture until then.
7. Floor Maintenance and Long-Term Care
General maintenance
- Maintain 40–60% humidity and +17–24°C temperature.
- Use soft chair wheels or protective mats.
- Add felt pads under furniture legs.
- Place entrance mats to reduce dirt and moisture.
- Clean using a vacuum or a soft, slightly damp cloth.
- Wipe spills immediately.
Oiled floor care
- Dust and sand must be removed regularly—they can scratch the surface.
- Always clean dry first; for wet cleaning use a well-wrung mop.
- Use SAICOS Wash Care diluted with water.
- Avoid strong, acidic, or undiluted cleaners.
Watch the Full Installation Video
This visual guide helps you avoid common mistakes and achieve a clean, professional finish.